LKF NEW

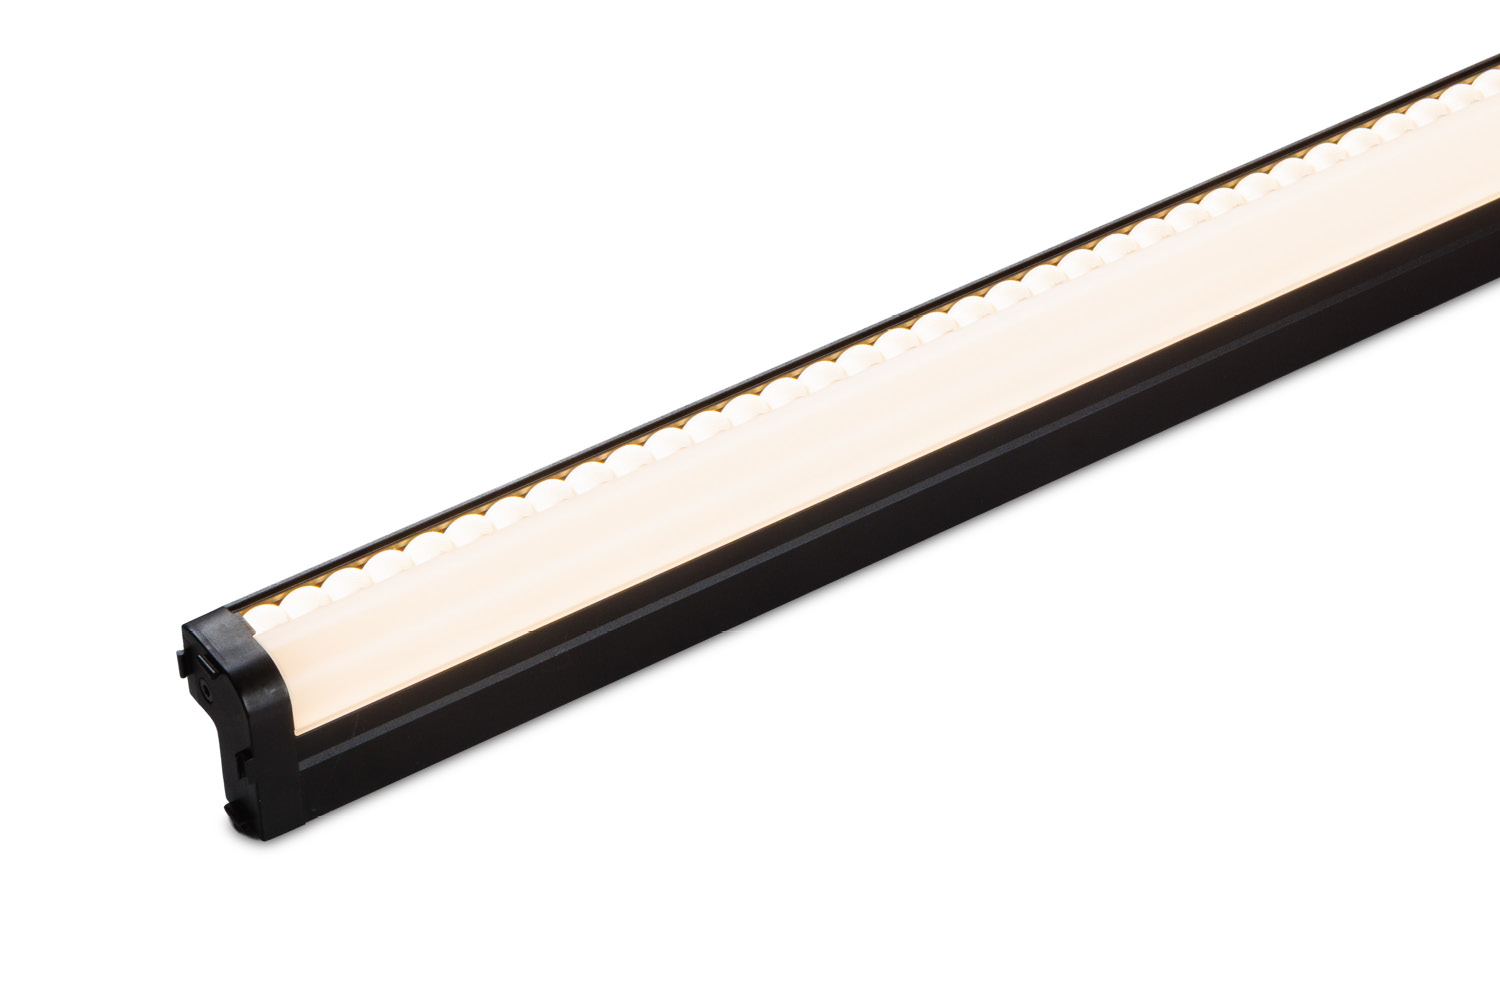
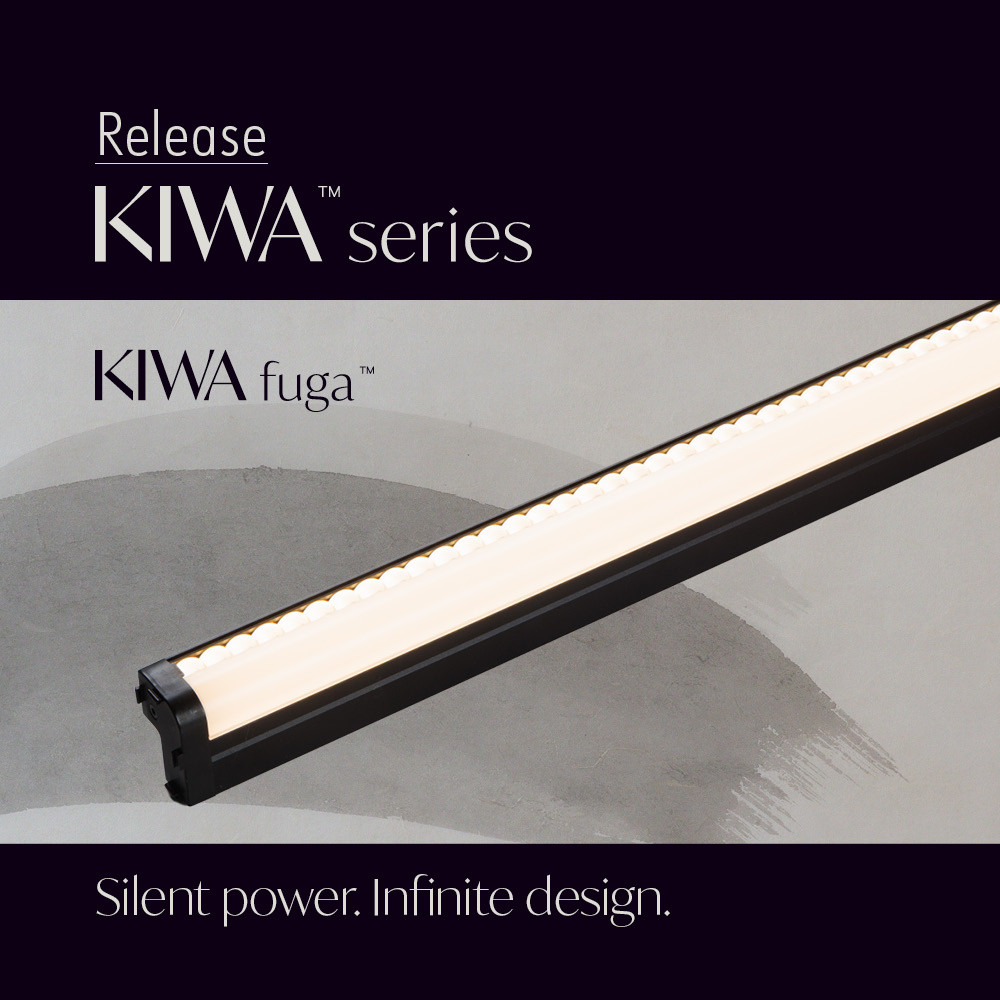
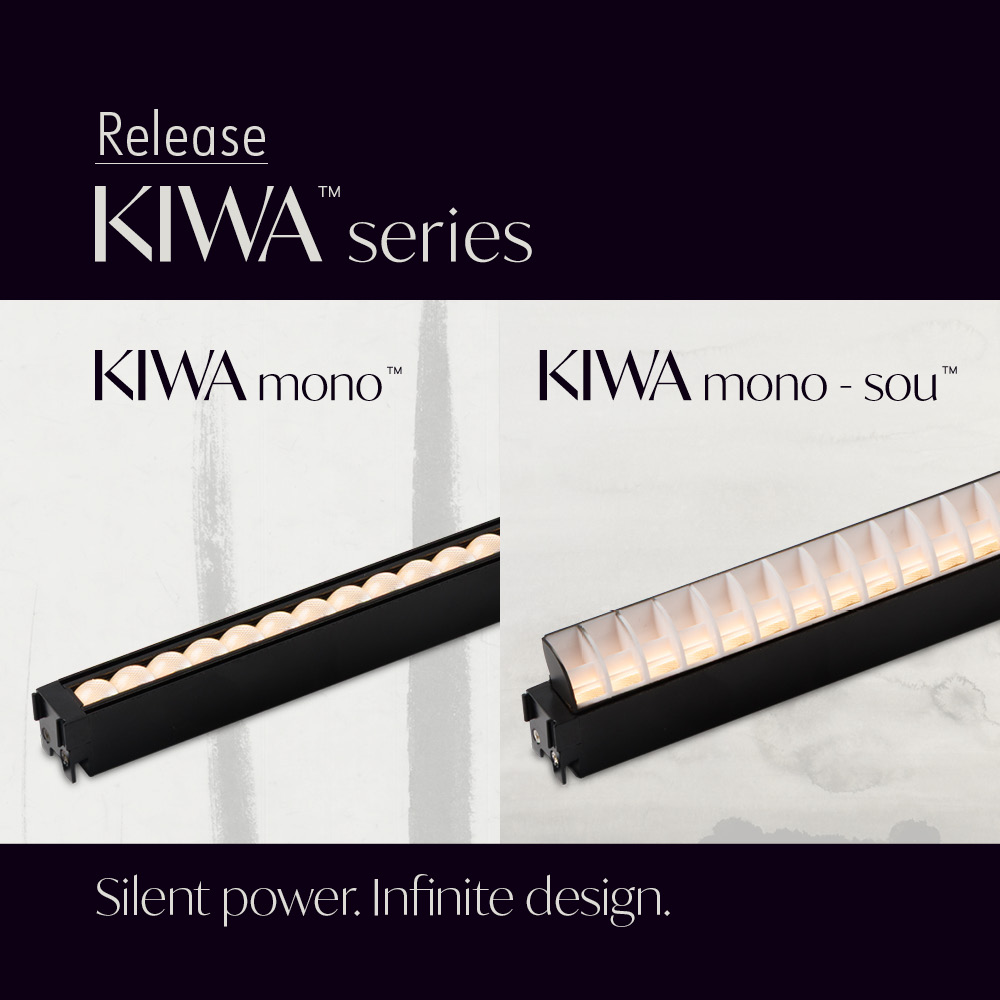
KIWA fuga

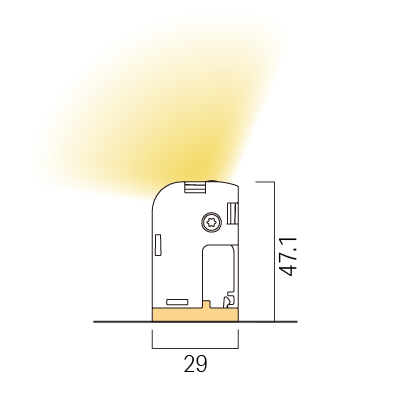
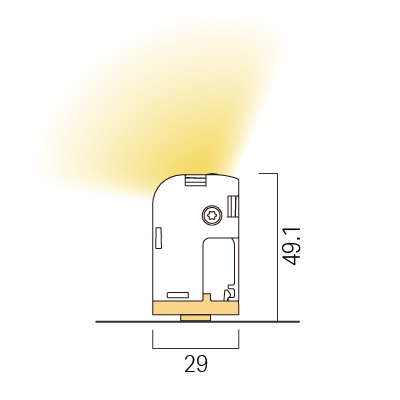
  • A harmony of gentle radiance spreads across the surroundings, while a power beam of light shines brightly on the walls
  • Ingenious parallel arrangement: a subtle gradation where shadows seamlessly fade away.
  • Unleashing the potential of grand light design with a impressive 3,800 lm/m.

  • MacAdam3steps
  • CE
  • KIWA fuga

Product information

Model No.

LKF10-1002W-L27-25-I-2-B

Detail
Length
Light source color
Light source color | Delivered CCT
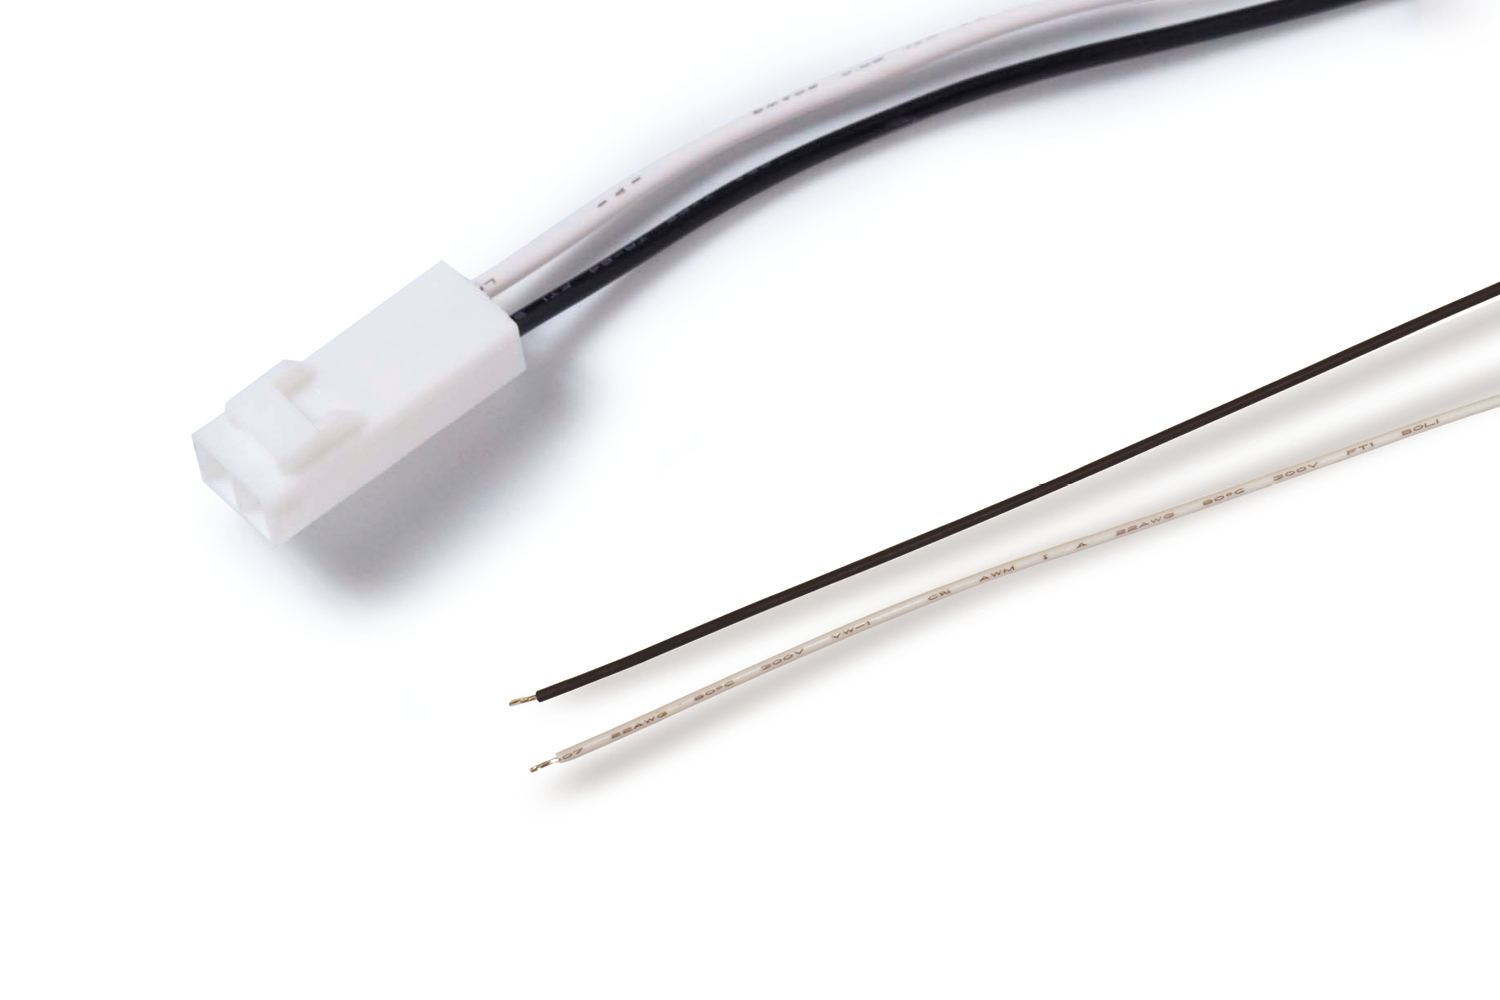
Lead wire
Beam angle
Body color
Wattage

SpecificationLength1000

  • Input voltage
    DC24V
  • Wattage
    W
  • Fitting length
    mm
  • Light source color | Delivered CCT
  • Max. length per circuit
    m
  • Dimmable
    Yes (0-10V/1-10V, DMX, DALI, PWM, Casambi)
  • Environment
    Indoor (no condensation)
  • Certification
    CE
  • Material
    Polycarbonate, Aluminum

Mounting options

Accessories

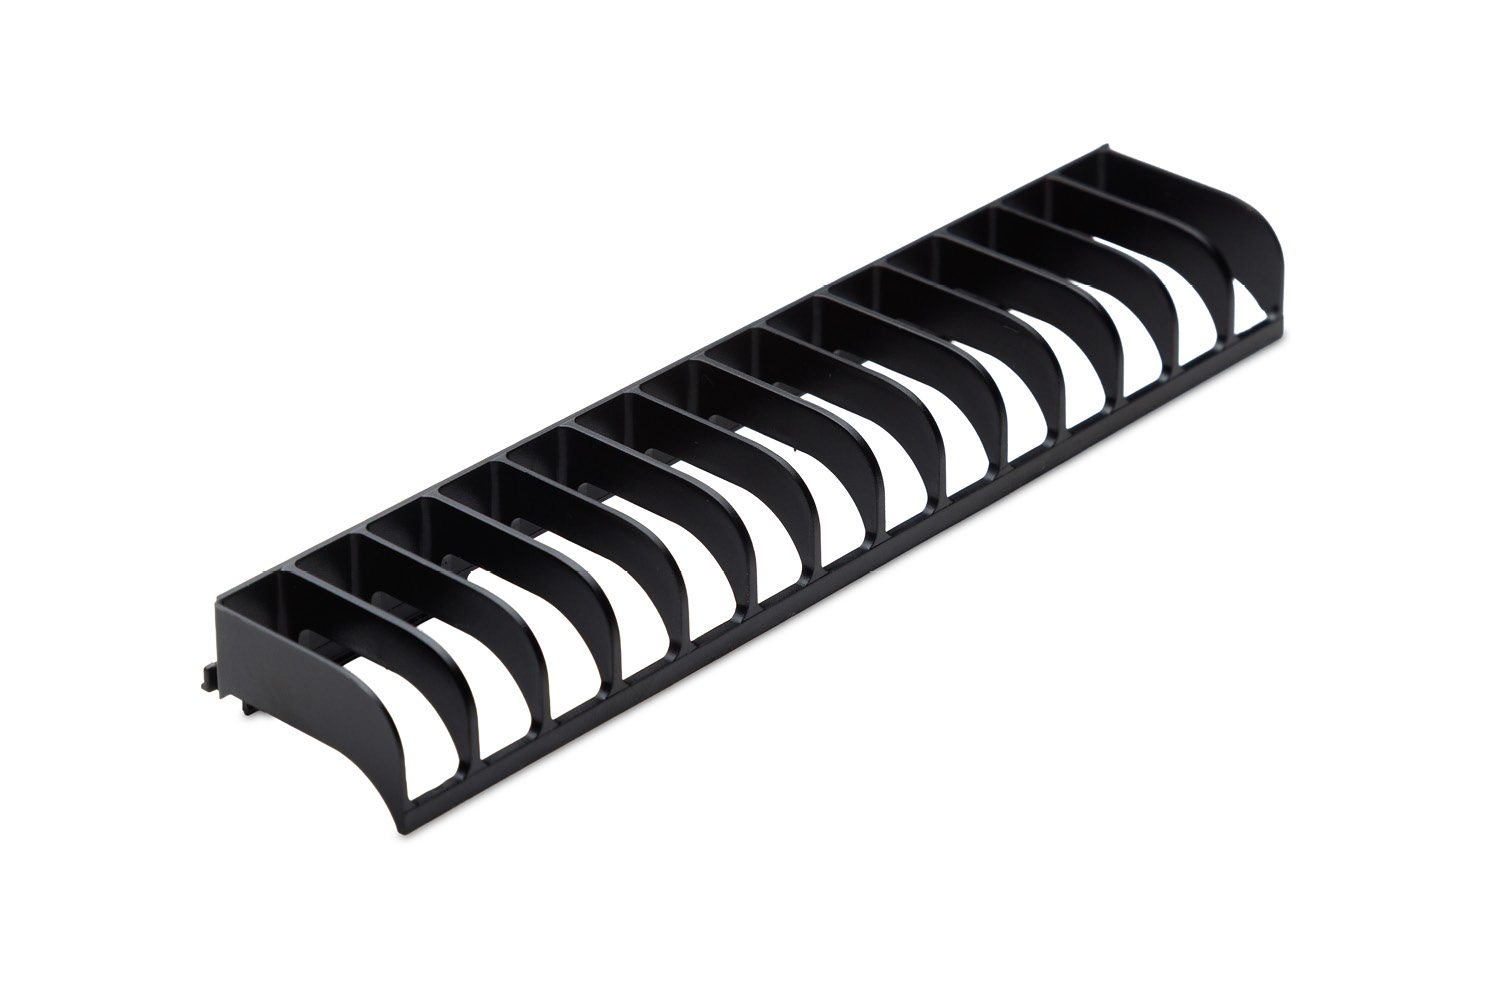
  • 4Louver for KIWA fuga

    LKF-PT-B-_

  • 5Power supply cable 3M

    CAD-3000-MCNN-I

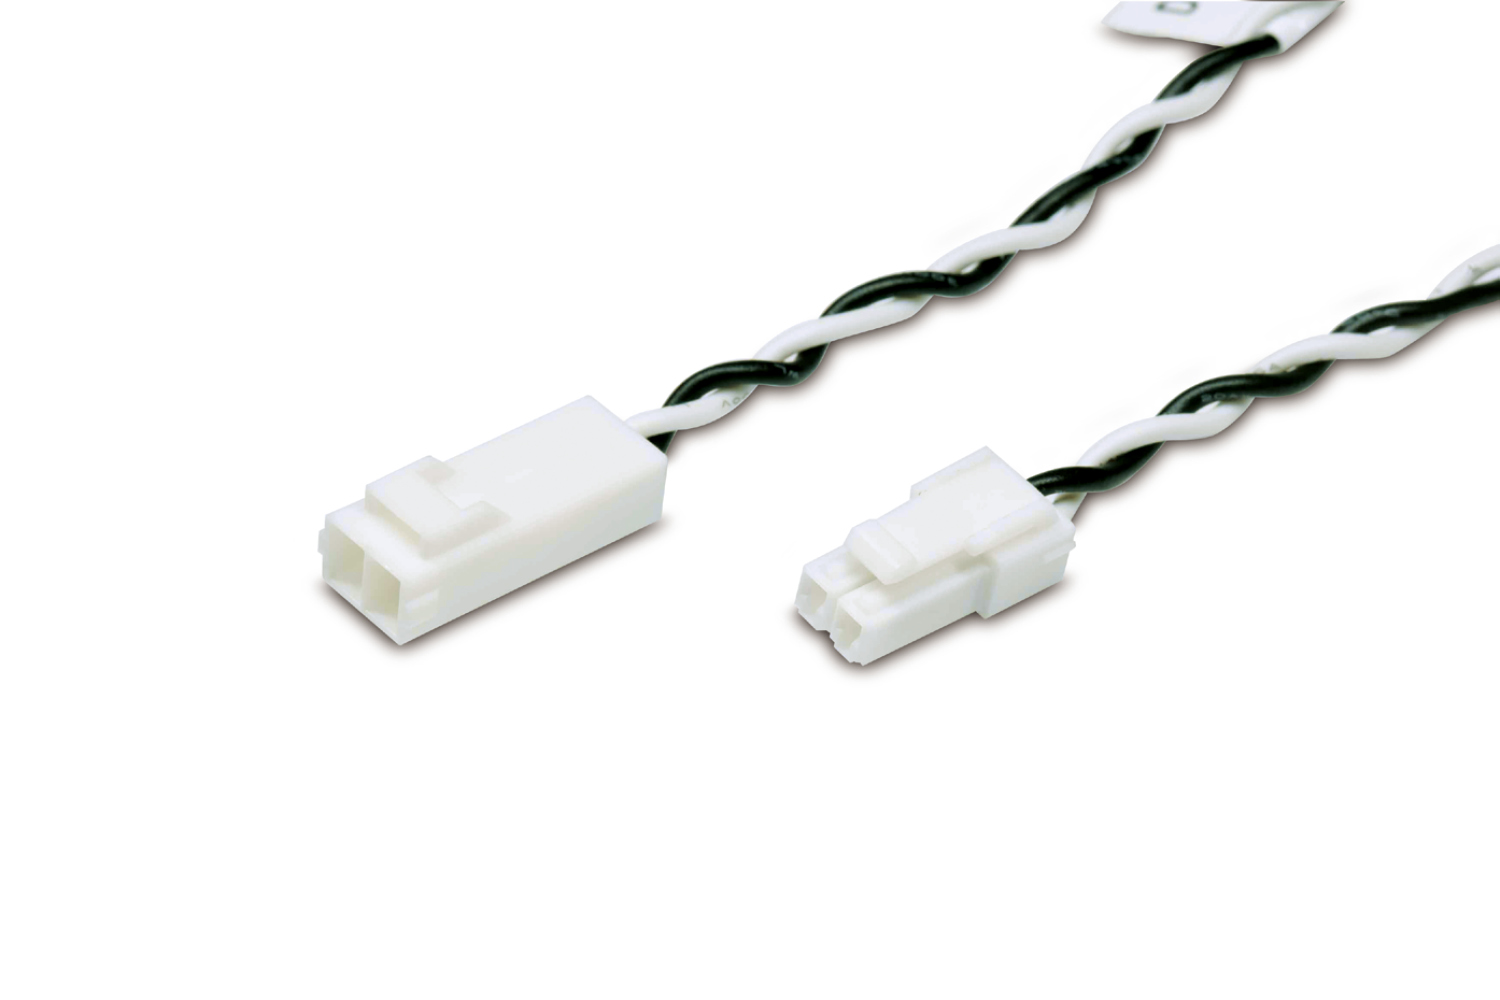
  • 6Joint cable

    CAD-_-MCFC-I

Download

Clicking the link in the text will open a preview (PDF or JPG) to allow overview before downloading.

How to Install

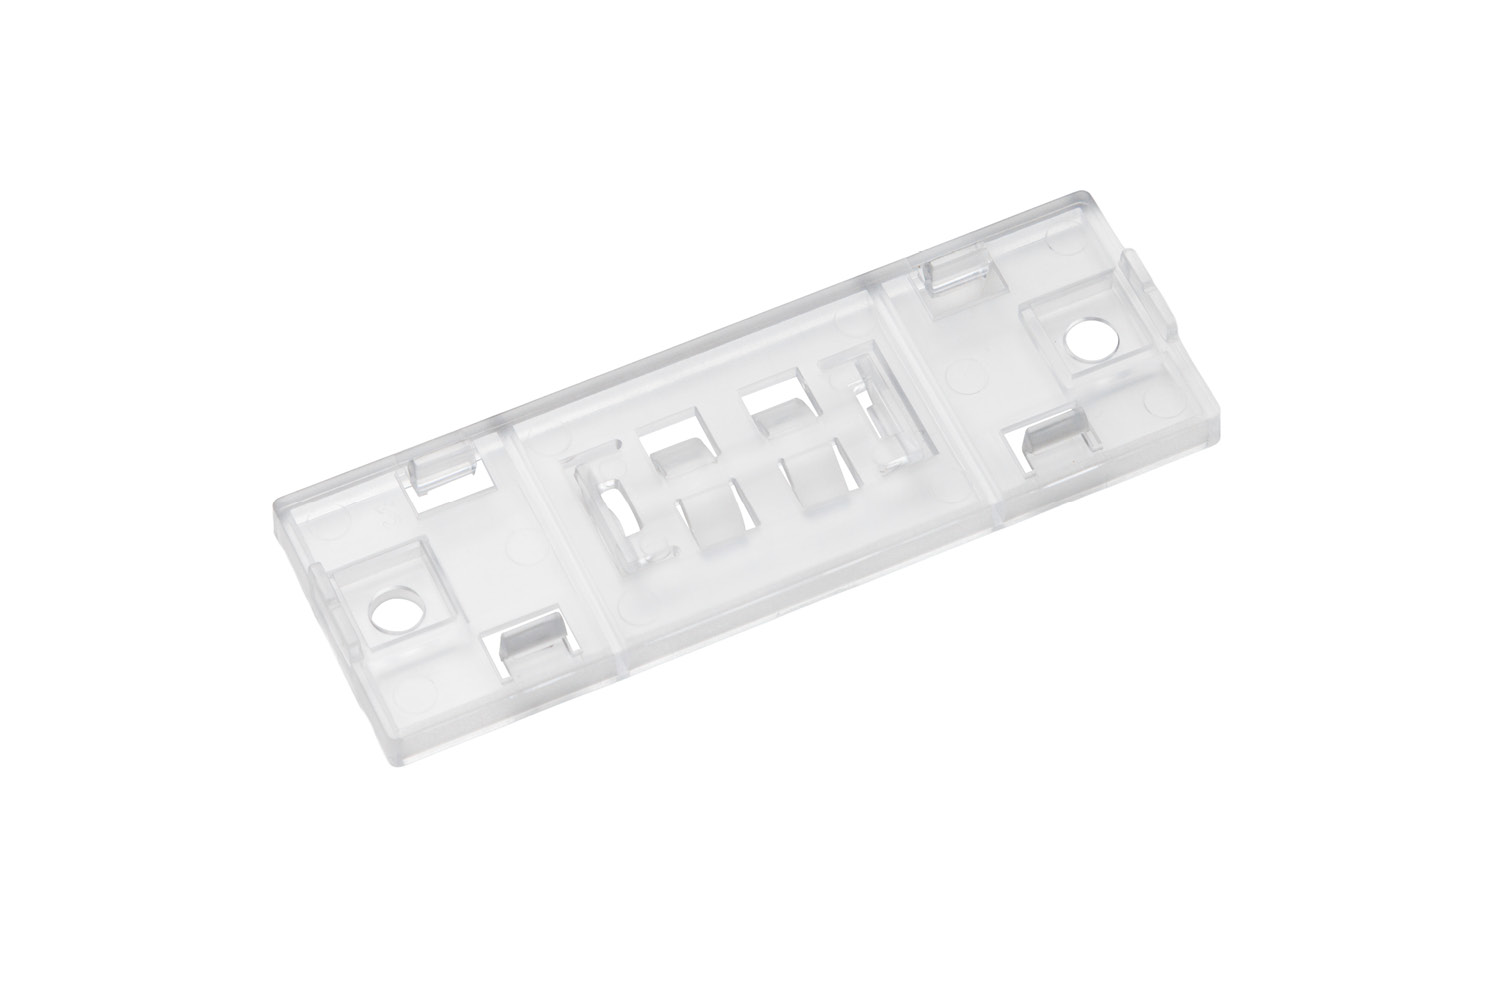
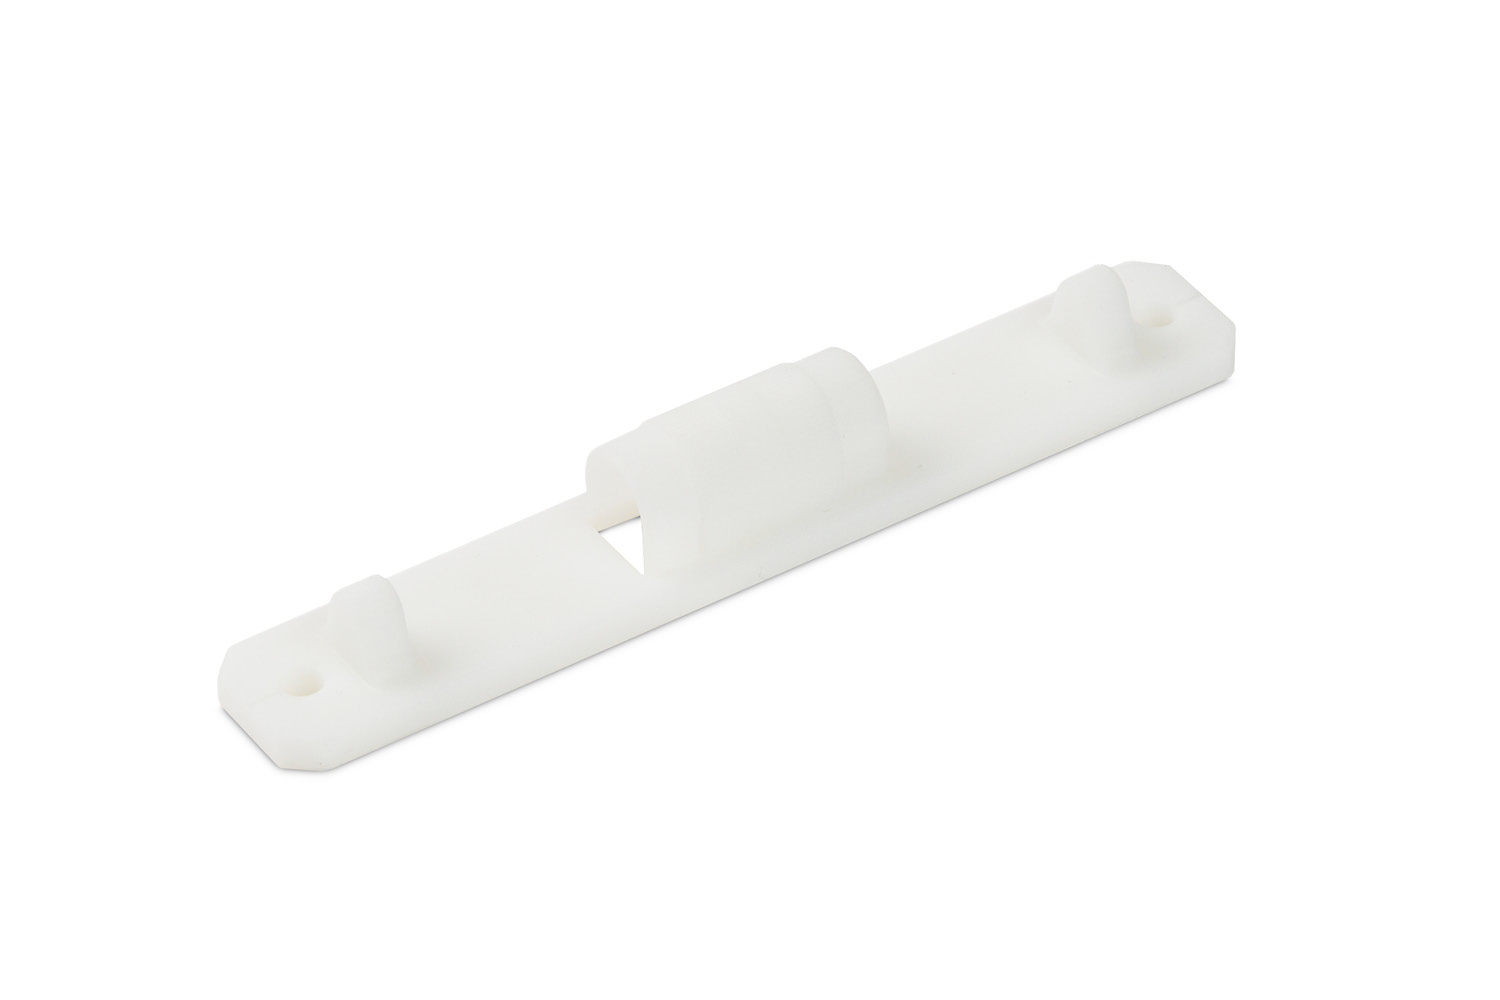
Mounting clip installation
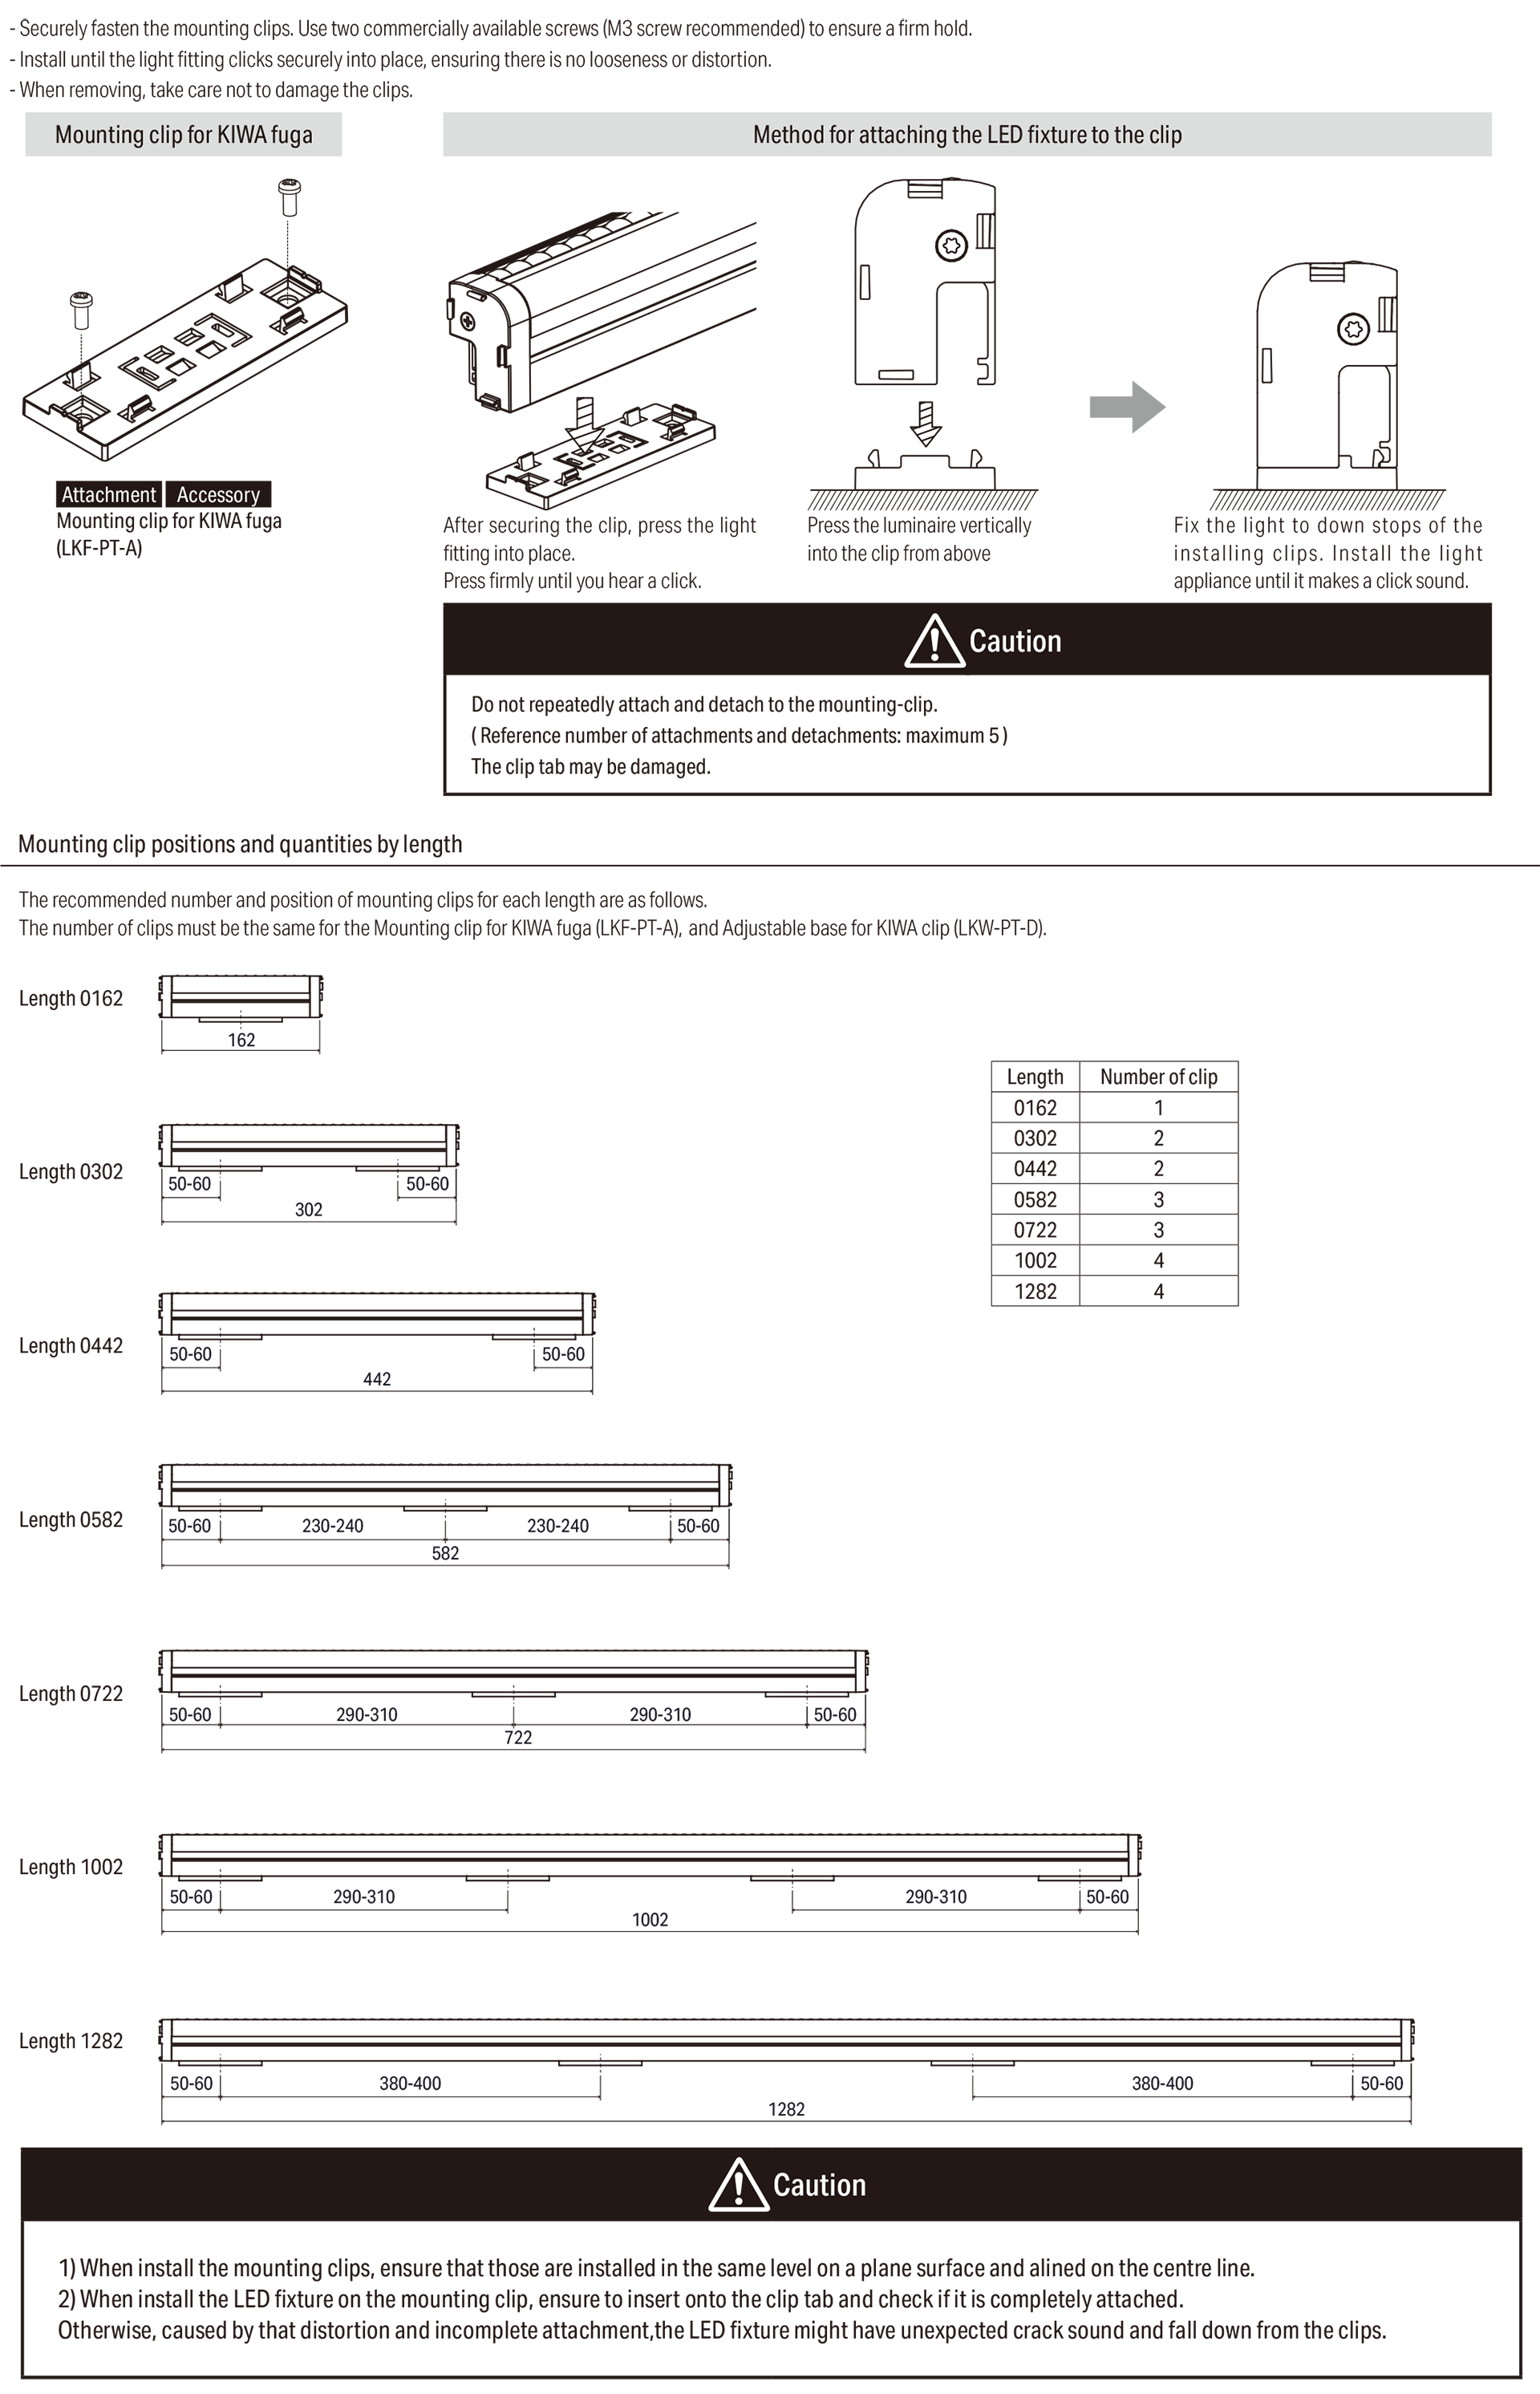
- Securely fasten the mounting clips. Use two commercially available screws (M3 screw recommended) to ensure a firm hold. - Install until the light fitting clicks securely into place, ensuring there is no looseness or distortion.- When removing, take care not to damage the clips.After securing the clip, press the lightfitting into place.Press firmly until you hear a click.Press the luminaire verticallyinto the clip from above.Fix the light to down stops of theinstalling clips. Install the lightappliance until it makes a click sound.Caution Do not repeatedly attach and detach to the mounting-clip.( Reference number of attachments and detachments: maximum 5 )The clip tab may be damaged.Mounting clip positions and quantities by length The recommended number and position of mounting clips for each length are as follows.The number of clips must be the same for the Mounting clip for KIWA fuga (LKF-PT-A), and Adjustable base for KIWA clip (LKW-PT-D).Caution 1) When install the mounting clips, ensure that those are installed in the same level on a plane surface and alined on the centre line.2) When install the LED fixture on the mounting clip, ensure to insert onto the clip tab and check if it is completely attached.Otherwise, caused by that distortion and incomplete attachment,the LED fixture might have unexpected crack sound and fall down from the clips.

Mounting clip and Adjustable base installation
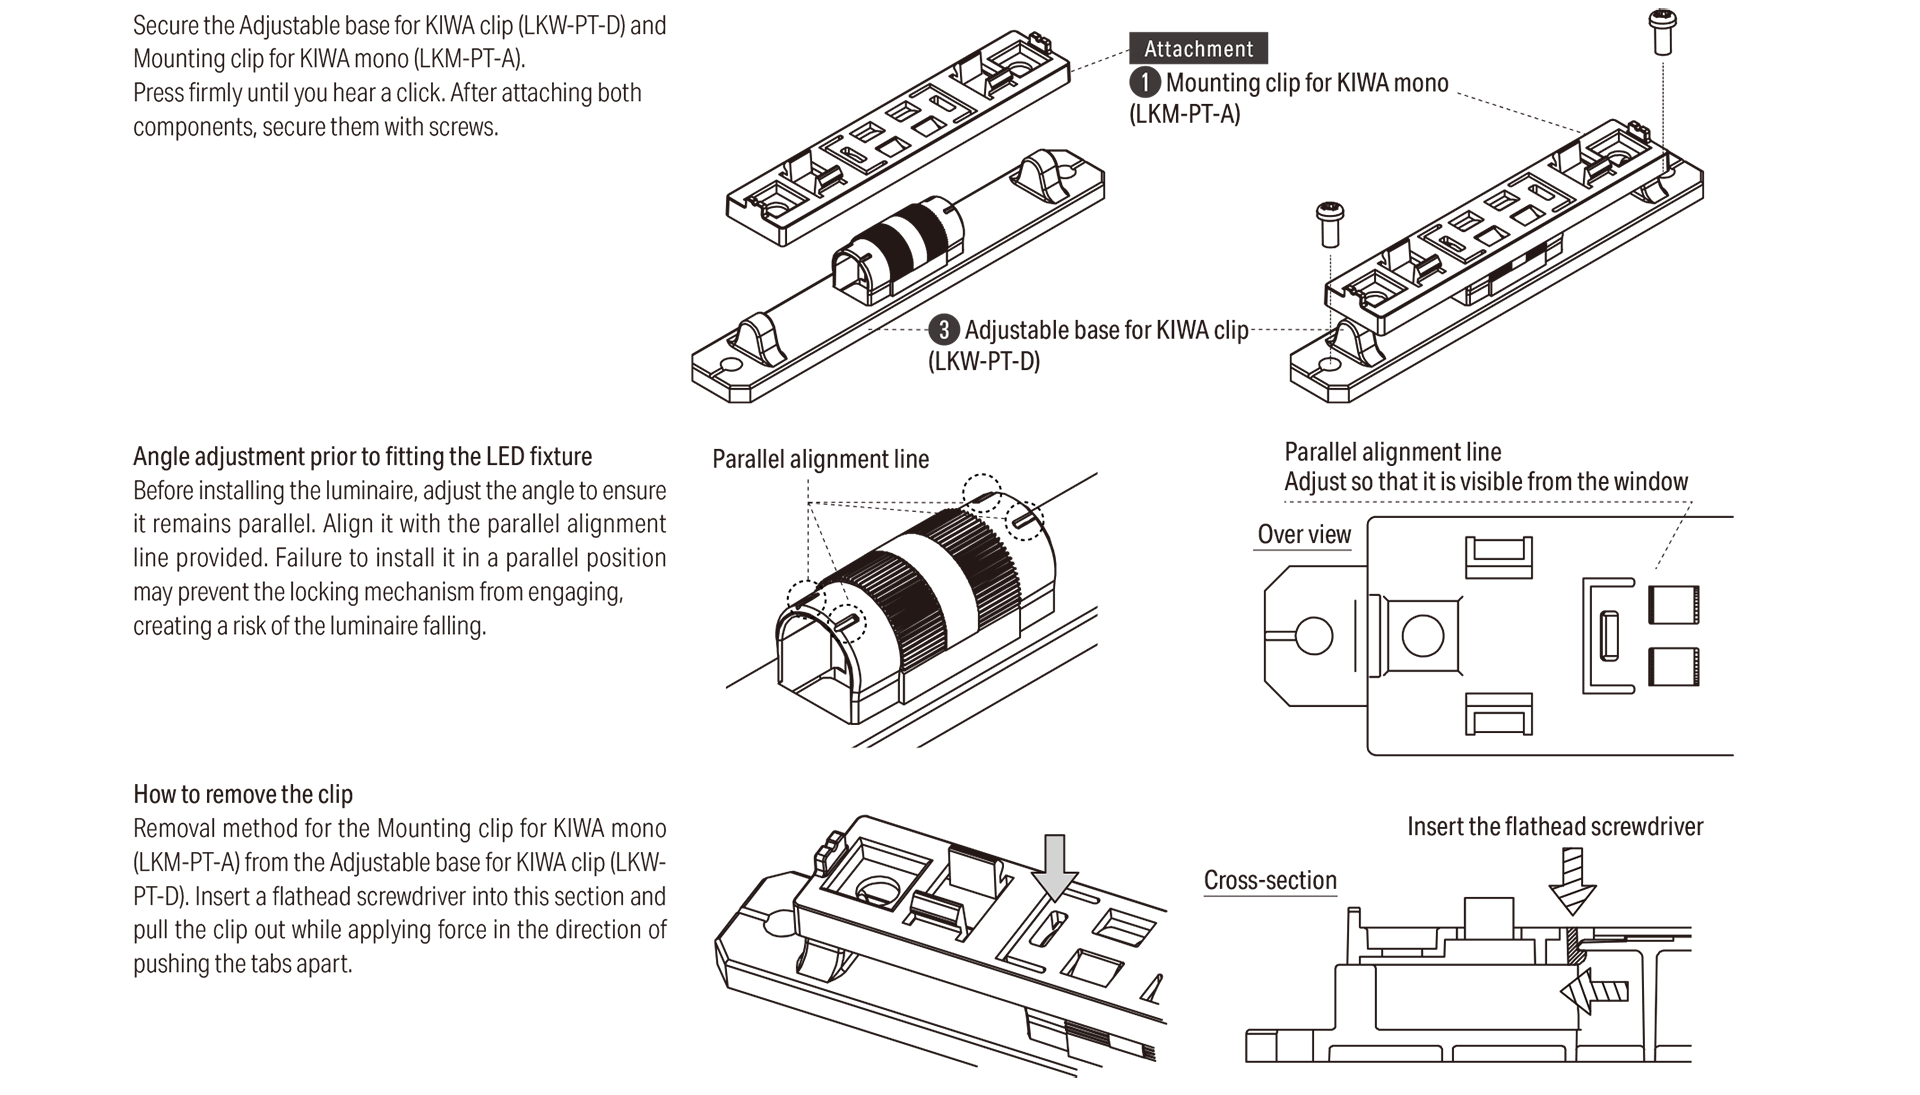
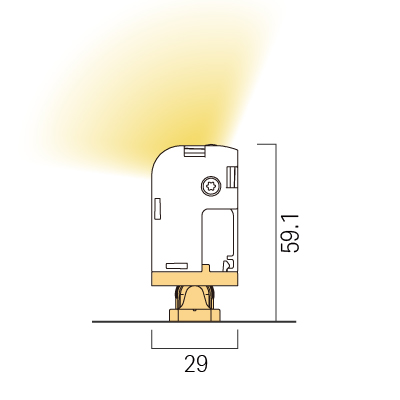
Secure the Adjustable base for KIWA clip (LKW-PT-D) and Mounting clip for KIWA mono (LKM-PT-A).Press firmly until you hear a click. After attaching both components, secure them with screws. Angle adjustment prior to fitting the LED fixture Before installing the luminaire, adjust the angle to ensure it remains parallel. Align it with the parallel alignment line provided. Failure to install it in a parallel position may prevent the locking mechanism from engaging, creating a risk of the luminaire falling. How to remove the clip Removal method for the Mounting clip for KIWA mono (LKM-PT-A) from the Adjustable base for KIWA clip (LKWPT-D). Insert a flathead screwdriver into this section and pull the clip out while applying force in the direction of pushing the tabs apart.

Mounting clip and Magnet installation
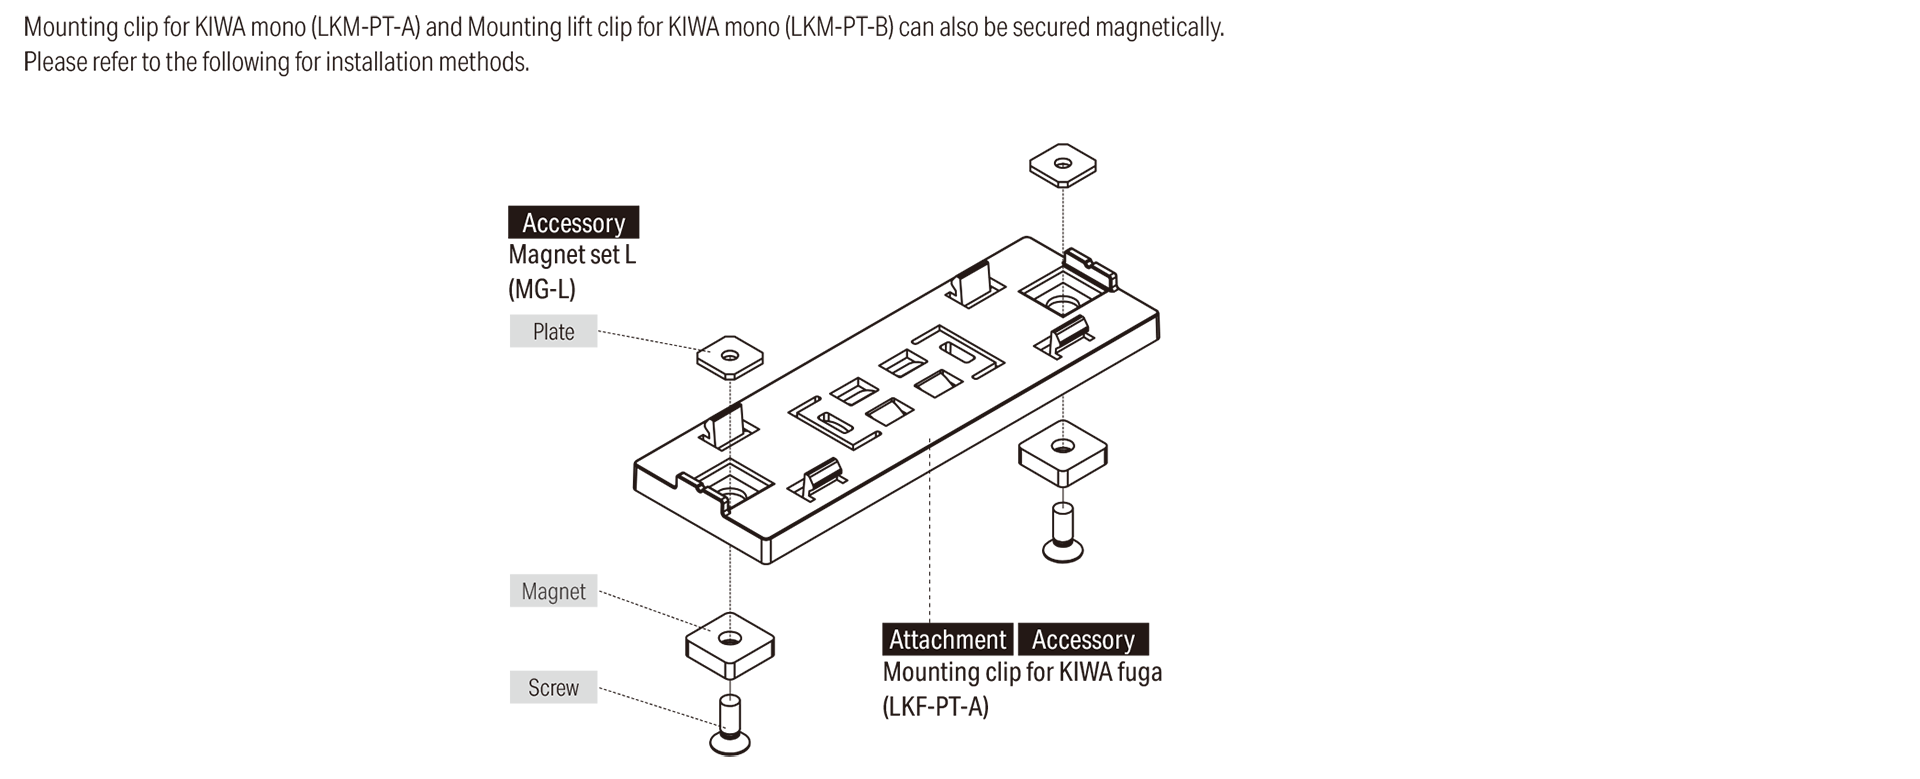
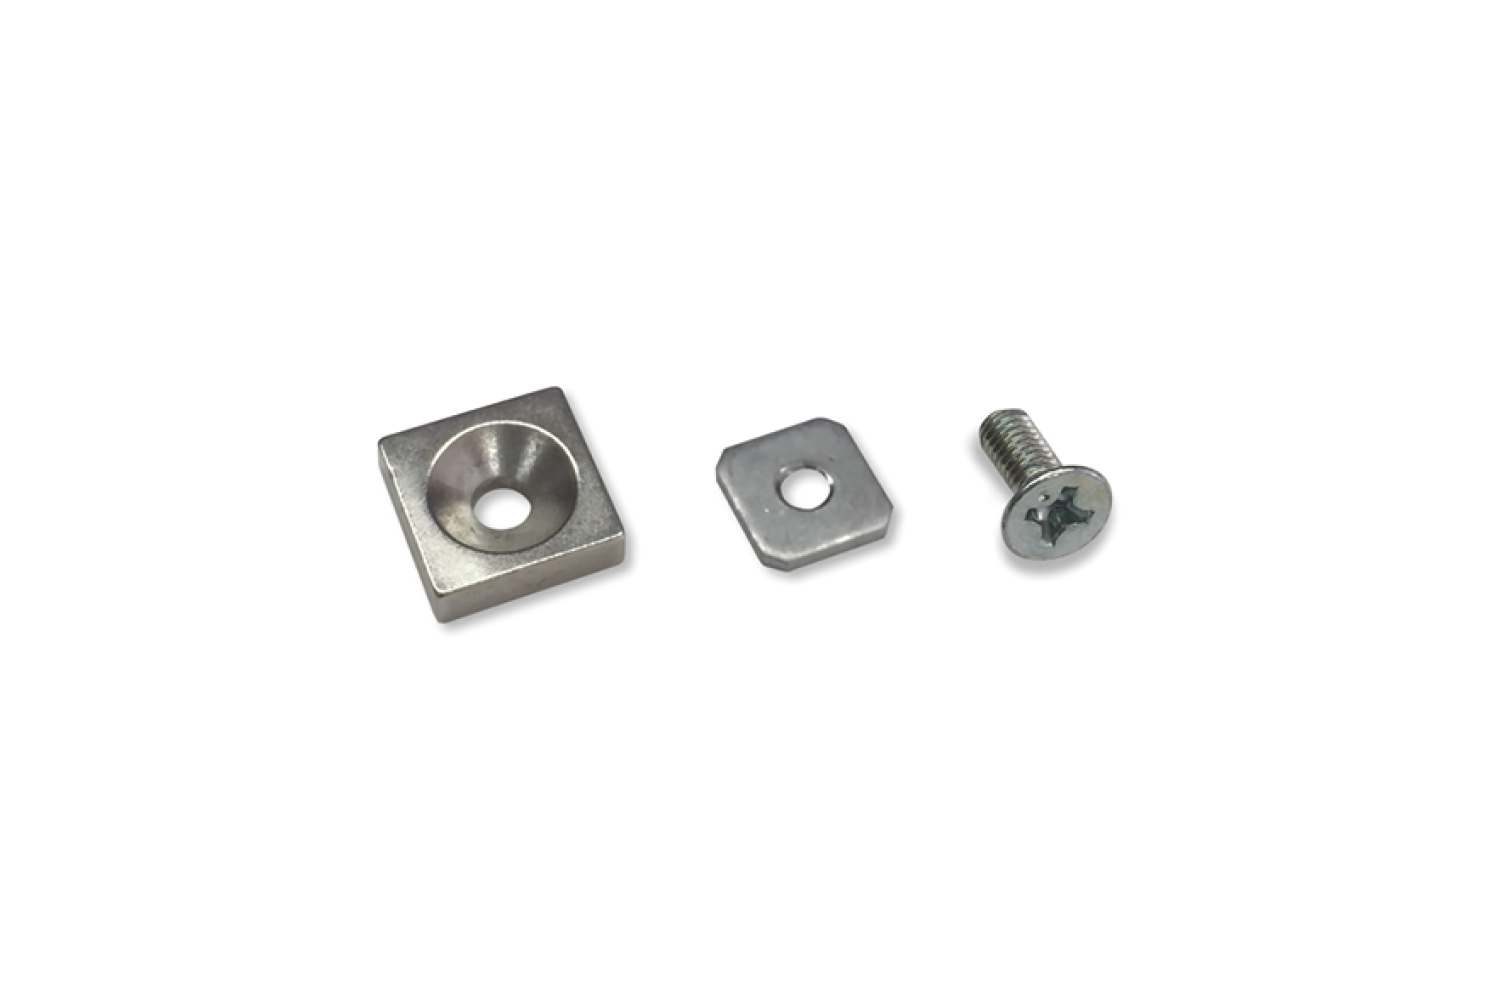
Mounting clip for KIWA mono (LKM-PT-A) and Mounting lift clip for KIWA mono (LKM-PT-B) can also be secured magnetically. Please refer to the following for installation methods.